This article provides a comprehensive guide on optimizing your action camera for stunning FPV drone footage, covering essential settings, mounting techniques, and tips for achieving cinematic results.
FPV, or First Person View, drone footage allows viewers to experience aerial views as if they were flying the drone themselves. This immersive perspective has gained immense popularity in both photography and videography, making it a crucial skill for enthusiasts. Understanding the nuances of FPV footage can significantly enhance the storytelling aspect of your videos.
Selecting the right action camera is fundamental for capturing high-quality FPV footage. Popular models such as the GoPro HERO series and DJI Osmo Action offer excellent features tailored for FPV enthusiasts. Key factors to consider include:
- Resolution: Aim for at least 4K for crisp visuals.
- Stabilization: Look for built-in stabilization to reduce shake.
- Weight: A lightweight camera ensures better drone performance.
Proper camera settings are vital for achieving high-quality FPV footage. Here are some recommended settings:
- Resolution: Set your camera to 4K for the best detail.
- Frame Rate: Use 60fps for smooth motion, especially in fast maneuvers.
- Field of View (FOV): A wide FOV can enhance the sense of speed and immersion.
The way you mount your action camera can greatly influence the stability and quality of your footage. Consider these mounting techniques:
- Vibration Dampeners: These can help minimize shake and jitter in your footage.
- Gimbals: A gimbal stabilizer offers smoother shots, particularly during rapid movements.
Lighting plays a significant role in video quality. To achieve stunning aerial footage:
- Utilize natural light during golden hours—early morning or late afternoon.
- Avoid harsh midday sun to reduce shadows and glare.
Editing your FPV footage can elevate its overall quality. Here are some practical post-processing tips:
- Color Grading: Enhance the colors to make your footage pop.
- Stabilization Techniques: Use software stabilization to smooth out any remaining shakes.
Avoiding common pitfalls can save you time and improve your footage quality. Be mindful of:
- Not checking battery levels before flights.
- Ignoring weather conditions that can affect stability.
Safety is paramount when flying drones. Always adhere to local regulations and ensure:
- Maintain a clear line of sight with your drone.
- Be aware of your surroundings to avoid obstacles.
Once you’ve captured stunning footage, knowing how to share it effectively is essential. Utilize platforms such as YouTube and Instagram to showcase your work. Consider editing teasers or highlight reels to attract viewers.
By following these guidelines, you can optimize your action camera for FPV drone footage, ensuring that your aerial adventures are captured beautifully and shared widely.
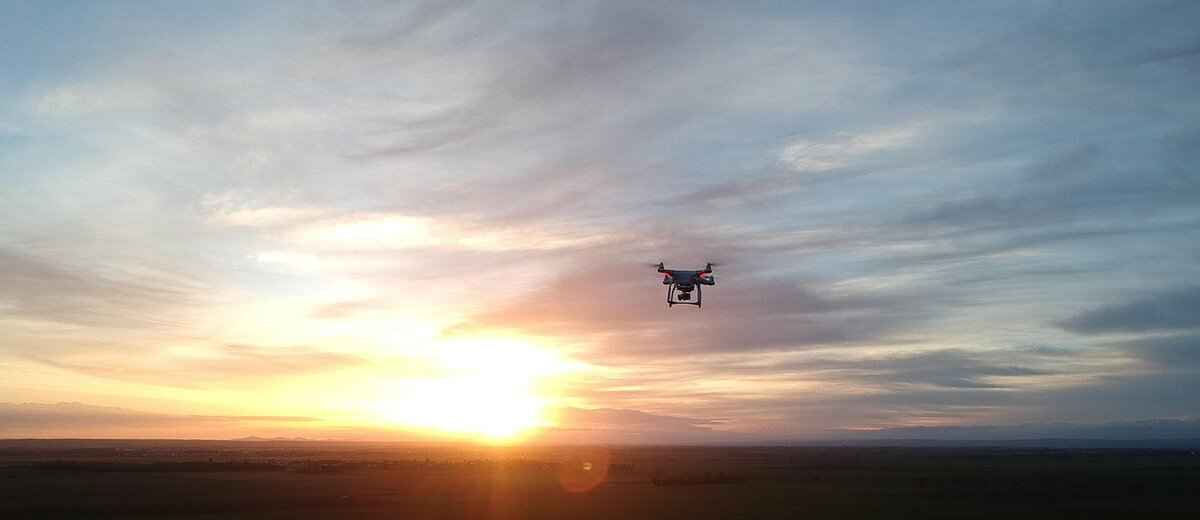
What is FPV Drone Footage?
Understanding FPV (First Person View) drone footage is essential for anyone looking to create captivating aerial experiences. This innovative technique allows pilots to experience flight as if they were inside the drone, offering a unique perspective that traditional filming methods cannot replicate. With the rise of drone technology, FPV footage has gained significant traction in various fields such as photography, videography, and even racing.
At its core, FPV drone footage involves using a camera mounted on a drone, transmitting real-time video back to the pilot. This immersive experience not only enhances the thrill of flying but also allows for the capture of stunning visuals that can be utilized in various creative projects. The significance of FPV footage extends beyond mere aesthetics; it plays a crucial role in storytelling, allowing filmmakers and content creators to convey emotions and narratives in ways previously thought impossible.
One of the most compelling aspects of FPV drone footage is its ability to provide an engaging viewer experience. When audiences watch FPV videos, they feel as if they are soaring through the skies themselves, fostering a deeper connection to the content. This level of immersion can be particularly advantageous in fields such as real estate, where showcasing properties from an aerial perspective can significantly enhance marketing efforts.
Moreover, FPV footage is increasingly utilized in sports and adventure videography. From thrilling mountain bike rides to breathtaking skateboarding tricks, FPV drones can capture high-speed action with remarkable clarity and fluidity. The dynamic angles and smooth transitions made possible by FPV technology allow creators to produce content that resonates with viewers on a visceral level.
Additionally, the importance of FPV footage in the realm of education and training cannot be overlooked. For instance, it can be employed in search and rescue training, providing trainees with a first-hand view of operations from the air. This practical application demonstrates how FPV technology can bridge the gap between theory and practice, enhancing learning experiences.
In conclusion, understanding FPV drone footage is not just about mastering a technique; it is about embracing a new way of storytelling and visual communication. As technology continues to evolve, the possibilities for FPV footage are boundless, making it a significant component of modern photography and videography.
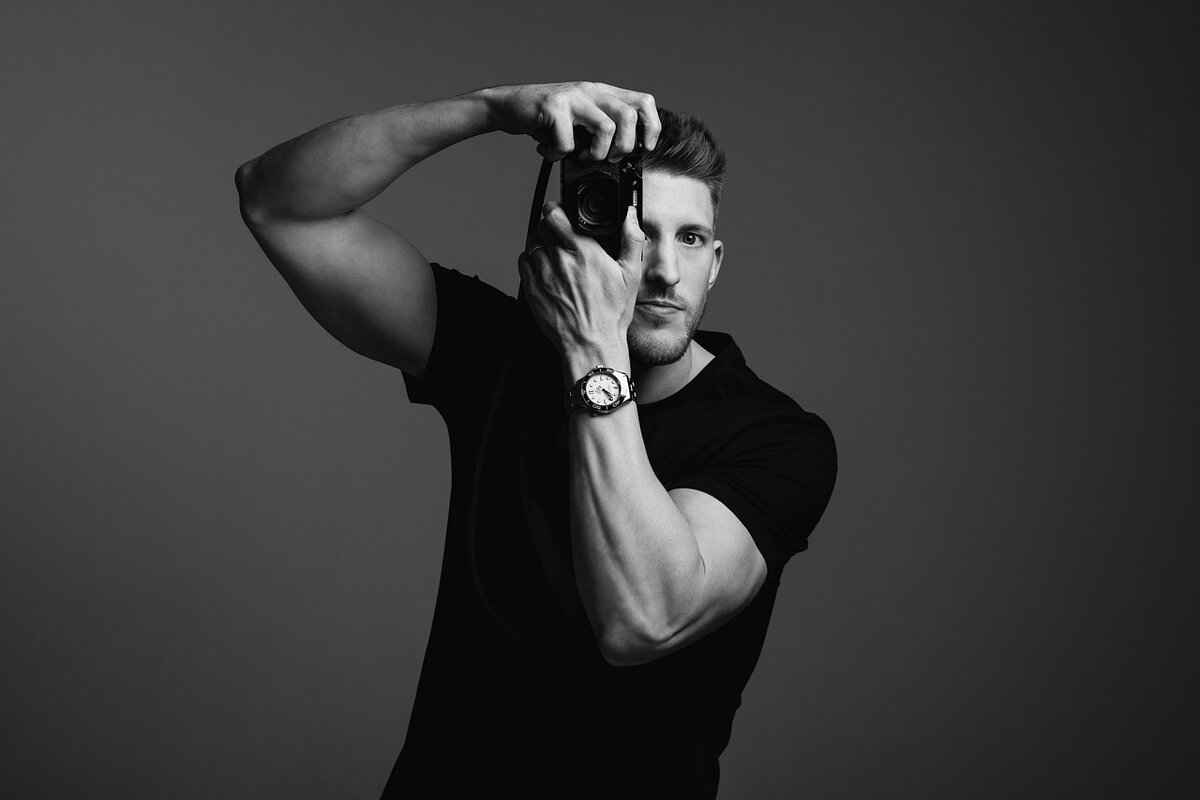
Choosing the Right Action Camera
When it comes to capturing breathtaking FPV (First Person View) drone footage, is a critical factor that can significantly influence the quality of your recordings. With a myriad of options available on the market, it’s essential to understand which features cater specifically to the needs of FPV enthusiasts.
FPV footage is all about immersion and excitement. The right action camera can enhance these aspects by providing high-resolution images, smooth stabilization, and a wide field of view. With the right camera, you can create stunning visuals that draw viewers into the experience, making them feel as if they are flying alongside you.
Several action camera models stand out among FPV pilots for their unique features:
- GoPro HERO Series: Known for their durability and image quality, GoPro cameras like the HERO10 Black offer excellent stabilization and 5.3K resolution, making them a favorite among FPV enthusiasts.
- DJI Action 2: This compact camera provides exceptional video quality and unique modular design, allowing for various mounting options, which is perfect for FPV setups.
- Insta360 ONE R: With its modular design and 360-degree capabilities, this camera offers versatility for creative FPV shots, alongside impressive stabilization technology.
- Runcam Split 3: Specifically designed for FPV, this camera allows for real-time video transmission and recording, making it a popular choice among racing pilots.
When selecting an action camera for FPV, consider these crucial features:
- Video Resolution: Look for cameras that offer at least 1080p resolution, with options for 4K for more detailed footage.
- Frame Rate: Higher frame rates (like 60fps or more) are essential for capturing smooth motion, especially during fast maneuvers.
- Stabilization Technology: Cameras with advanced stabilization (like HyperSmooth in GoPro) can minimize shaky footage, providing a more professional look.
- Field of View (FOV): A wide FOV can create a more immersive experience, allowing viewers to take in more of the environment.
While premium action cameras offer advanced features, there are also budget-friendly options that can deliver satisfactory results. Assess your needs and determine how much you are willing to invest in an action camera. Remember, a higher price often correlates with better performance, but there are hidden gems at lower price points.
In summary, selecting the right action camera can greatly enhance your FPV footage quality. By considering popular models, essential features, and your budget, you can make an informed decision that aligns with your filming goals. The right camera not only captures stunning visuals but also elevates your overall FPV flying experience.
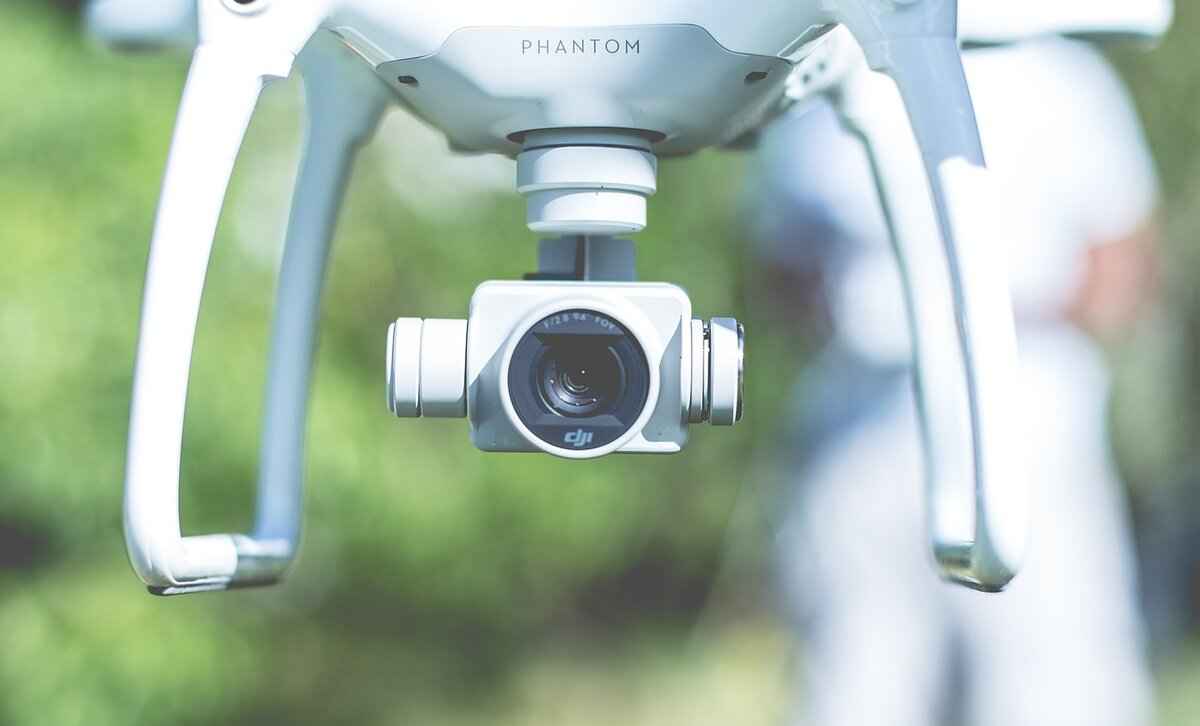
Essential Camera Settings for FPV
When it comes to capturing breathtaking FPV (First Person View) drone footage, the importance of proper camera settings cannot be overstated. These settings play a crucial role in determining the quality and overall impact of your videos. In this section, we will explore the optimal configurations for resolution, frame rate, and field of view, ensuring that you can achieve the best possible results in your aerial adventures.
Understanding the significance of camera settings is essential for any FPV enthusiast. The right settings can enhance the clarity, smoothness, and cinematic quality of your footage, making your videos more engaging and visually appealing. Let’s delve into the key settings that you should prioritize.
Choosing the right resolution is fundamental for high-quality FPV footage. Most action cameras offer various resolutions, typically ranging from 1080p to 4K. For FPV flying, a resolution of 1080p is often sufficient, providing a good balance between quality and file size. However, if your camera supports it and your editing capabilities allow, shooting in 4K can offer greater detail, especially for larger screens.
The frame rate you select significantly impacts the smoothness and fluidity of your footage. Common frame rates include 30fps, 60fps, and even 120fps or higher. For FPV flying, using a frame rate of 60fps is recommended, as it provides a smooth viewing experience while allowing for some slow-motion effects in post-production. Higher frame rates, such as 120fps, can be beneficial for capturing fast-moving subjects or dynamic maneuvers.
The field of view (FOV) you choose can dramatically alter the perception of your footage. Most action cameras allow you to select between different FOV settings, such as narrow, medium, and wide. For FPV footage, a wider FOV is often preferred as it captures more of the environment, creating a more immersive experience. However, be cautious with the fisheye effect that can occur with very wide settings, as it may distort the image.
- White Balance: Adjusting the white balance can help maintain color accuracy in varying lighting conditions. Consider using the auto setting for general use, but manual adjustments may be necessary for specific environments.
- ISO Levels: Keep your ISO as low as possible to reduce noise. A setting of 100-400 is ideal in well-lit conditions, while higher settings may be required in low light.
- Shutter Speed: A good rule of thumb is to set your shutter speed to double your frame rate (e.g., 1/120 for 60fps) to achieve natural motion blur.
By carefully adjusting these settings, you can significantly enhance the quality of your FPV footage. Experimenting with different combinations will help you discover what works best for your specific flying style and environment. Remember, the goal is to create captivating videos that not only showcase your flying skills but also provide an engaging viewing experience.
Resolution and Frame Rates
When it comes to capturing stunning FPV (First Person View) drone footage, resolution and frame rates are two critical factors that can greatly influence the quality of your videos. Understanding these elements is essential for both novice and experienced drone pilots who want to achieve smooth and clear footage.
The resolution of your footage refers to the number of pixels that make up each frame. Higher resolutions, such as 4K, offer more detail and clarity, making your videos more visually appealing. However, higher resolutions also require more storage and processing power. Conversely, lower resolutions may result in less detail but can be easier to manage.
Frame rates, on the other hand, determine how many frames are captured per second. Common frame rates include 30fps, 60fps, and even 120fps for ultra-smooth motion. Higher frame rates are particularly useful for fast-moving subjects, as they help reduce motion blur and create a more fluid viewing experience.
- 1080p (Full HD): This resolution is a popular choice for many FPV pilots. It provides a good balance between video quality and file size, making it suitable for most applications.
- 2.7K: A step up from 1080p, 2.7K offers enhanced detail and is ideal for those looking to create more immersive content without the hefty storage requirements of 4K.
- 4K: For the highest quality footage, 4K resolution is unmatched. It captures stunning detail, making it perfect for cinematic projects, but requires a powerful editing setup and ample storage space.
- 30fps: This frame rate is suitable for standard video and provides a natural motion feel. It’s great for slower movements and general FPV flying.
- 60fps: Ideal for capturing faster action, 60fps offers smoother motion and is perfect for racing or high-speed maneuvers.
- 120fps and above: For those looking to create slow-motion effects, higher frame rates are essential. They allow you to slow down footage while maintaining clarity and detail.
When deciding on the best resolution and frame rate for your FPV footage, consider the following:
- Intended Use: Are you creating content for social media, personal enjoyment, or professional projects? Your intended use will influence your choice of settings.
- Storage Capacity: Higher resolutions and frame rates consume more storage. Ensure you have adequate space on your memory cards and hard drives.
- Editing Capabilities: If you plan to edit your footage, ensure your editing software can handle the resolution and frame rate you choose.
In summary, selecting the right resolution and frame rate is crucial for achieving the best possible FPV footage. By understanding the implications of these settings, you can enhance the quality of your videos and create captivating aerial experiences that resonate with your audience.
Field of View (FOV) Adjustments
When capturing FPV (First Person View) drone footage, the field of view (FOV) plays a crucial role in determining the overall aesthetic and emotional impact of your videos. Adjusting the FOV can create dramatic effects, enhancing the viewer’s sense of immersion and excitement. In this section, we will explore how to set the FOV for different flying styles and scenarios, providing you with the knowledge to elevate your footage.
The field of view refers to the extent of the observable environment that can be seen through the camera lens at any given moment. In FPV flying, the FOV can significantly influence the storytelling aspect of your footage. A wider FOV captures more of the surroundings, creating a sense of vastness and adventure, while a narrower FOV can focus attention on specific subjects or actions, adding drama and intensity.
- Racing: For racing drones, a narrower FOV (e.g., 90 degrees) is often preferred. This setting provides a more focused view, allowing pilots to hone in on specific obstacles and track their path more effectively.
- Cinematic Flying: When aiming for cinematic shots, a wider FOV (e.g., 120 degrees or more) can create a more immersive experience. This setting captures expansive landscapes and dynamic movements, making the viewer feel part of the action.
- Aerial Photography: For aerial photography, adjust the FOV according to the subject. A moderate FOV (e.g., 100 degrees) can balance detail and context, ensuring the subject is prominent while still showcasing its environment.
Different scenarios require different FOV settings to achieve the desired effect:
1. **Landscape Shots:** Use a wide FOV to capture sweeping vistas and dramatic skies.2. **Close-Up Actions:** Narrow the FOV to focus on intricate movements or subjects, such as a person performing a trick.3. **Urban Environments:** A moderate FOV can help balance the busy surroundings while keeping the subject in focus.
It’s essential to experiment with various FOV settings during practice flights. By recording footage with different FOVs, you can analyze how each setting impacts the overall feel of the video. This practice will help you understand your personal style and preferences, allowing you to make more informed decisions when capturing footage for your projects.
Mastering the art of FOV adjustments can transform your FPV footage from ordinary to extraordinary. By understanding how to tailor the FOV for different flying styles and scenarios, you can enhance the storytelling aspect of your videos, making them more engaging and visually appealing. Remember to keep experimenting and refining your techniques, as the world of FPV flying is ever-evolving, and there’s always something new to learn.
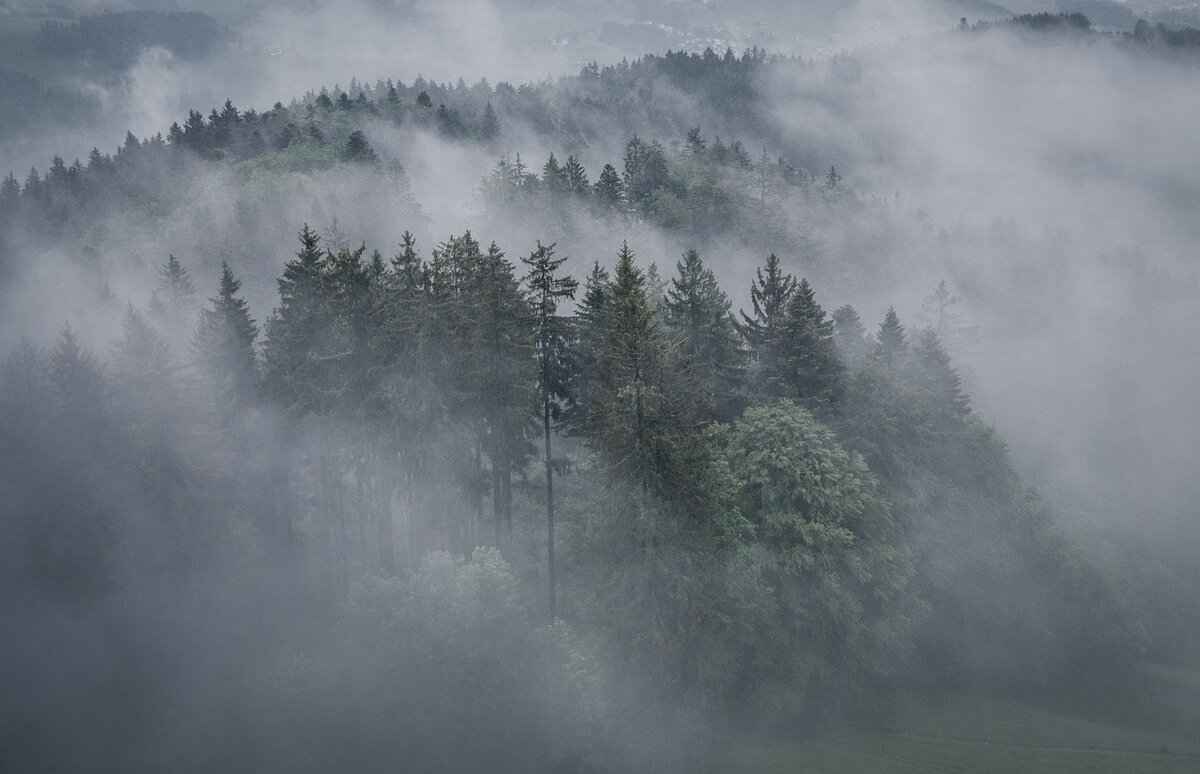
Mounting Your Action Camera on the Drone
The way you mount your action camera can significantly influence the stability and overall quality of your footage. Proper mounting techniques are essential for capturing the best possible images and videos during your FPV (First Person View) drone flights. In this section, we will explore various mounting methods, their implications on footage quality, and best practices to ensure that your action camera performs optimally.
Why Does Mounting Matter?
Mounting your action camera correctly is crucial because it affects both the stability of the camera and the resulting footage. A poorly mounted camera can lead to unwanted vibrations, resulting in shaky footage that detracts from the viewing experience. Additionally, the angle and position of the camera can dramatically alter the perspective of your shots, making it vital to choose the right method for your specific needs.
Types of Mounts to Use
- Vibration Dampeners: These mounts are designed to absorb shocks and vibrations, providing a smoother filming experience. They are particularly effective in reducing the jarring effects of drone movements.
- Gimbals: A gimbal stabilizes the camera on multiple axes, allowing for fluid motion and professional-looking footage. This is ideal for dynamic flying styles where smooth transitions are desired.
- Fixed Mounts: While simpler, fixed mounts can be effective for straightforward shots. However, they may not provide the same level of stability as other options.
Positioning the Camera for Optimal Angles
To capture engaging FPV shots, consider the following positioning techniques:
- Low Angles: Mounting the camera lower can create a dramatic effect, emphasizing speed and proximity to the ground.
- Forward Angles: Positioning the camera slightly forward can enhance the sense of movement, making the footage feel more immersive.
- Side Mounts: For specific maneuvers, side mounts can provide unique perspectives that traditional mounts cannot achieve.
Testing and Adjusting Your Setup
Once you have chosen a mounting method and positioned your camera, it’s essential to conduct test flights. This will help you identify any issues with stability or angle. Adjustments may be necessary to perfect your setup, ensuring that your footage is as high-quality as possible.
Common Mistakes to Avoid
- Neglecting Weight Distribution: Ensure that the camera’s weight is balanced to avoid affecting the drone’s flight performance.
- Ignoring Wind Resistance: Consider the aerodynamics of your camera setup; a bulky mount can create drag and impact stability.
- Forgetting to Secure the Camera: Always double-check that your camera is securely fastened to prevent it from dislodging during flight.
By understanding and implementing these mounting techniques, you can significantly enhance the quality of your FPV drone footage. Remember, experimentation is key. Don’t hesitate to try different mounts and positions to discover what works best for your unique style and shooting conditions.
Types of Mounts to Use
When it comes to capturing breathtaking FPV (First Person View) drone footage, the choice of mounting options can make a significant difference. By understanding the various types of mounts available, you can enhance the quality of your shots and ensure a smooth viewing experience. Below, we delve into the best mounting solutions, including the benefits of vibration dampeners and gimbals.
The mounting system of your action camera plays a critical role in stabilizing the footage and minimizing vibrations. A well-mounted camera can help you achieve smoother shots, while a poor mounting choice can lead to shaky and unusable footage. Hence, selecting the right mount is essential for any FPV pilot.
- Fixed Mounts: These are the simplest type of mounts that hold the camera in a fixed position. While they are easy to use, they do not provide much in the way of stabilization.
- Vibration Dampeners: These mounts are designed to absorb shocks and vibrations from the drone’s movements. They are particularly useful for high-speed maneuvers, ensuring that your footage remains steady and clear.
- Gimbals: Gimbals are advanced mounting solutions that use motors to stabilize the camera on multiple axes. This technology allows for incredibly smooth footage, even in turbulent conditions, making it a favorite among professional FPV pilots.
- Adjustable Mounts: These mounts allow you to change the angle of the camera during flight. This flexibility can help you capture dynamic shots that enhance the storytelling aspect of your videos.
Vibration dampeners are particularly beneficial for pilots flying in challenging environments. By isolating the camera from the drone’s vibrations, these mounts help maintain video clarity and reduce the risk of distortion. They are especially effective when flying at high speeds or during sudden maneuvers.
Gimbals offer a superior level of stabilization compared to fixed mounts or vibration dampeners. They are equipped with sensors that detect movement, automatically adjusting the camera’s position to counteract any unwanted motion. This technology results in cinematic quality footage that is smooth and professional.
Once you’ve selected the right mount, positioning your camera correctly is key to achieving engaging FPV shots. Experiment with different angles to find the most dynamic perspectives. Consider the following tips:
- Low Angles: Mounting the camera lower can create a sense of speed and immersion.
- High Angles: A higher mount can provide a broader view of the landscape.
- Tilting: Slightly tilting the camera can add drama and excitement to your footage.
In conclusion, choosing the right mount for your action camera is crucial for capturing stunning FPV footage. By understanding the unique benefits of vibration dampeners and gimbals, as well as the importance of camera positioning, you can significantly enhance the quality of your aerial videos. Remember to experiment with different setups to find what works best for your flying style and creative vision.
Positioning the Camera for Optimal Angles
When it comes to capturing breathtaking FPV (First Person View) drone footage, camera positioning is a key factor that can make or break your shots. Understanding how to effectively position your camera allows you to create dynamic angles that enhance the visual storytelling of your aerial adventures. This section delves into the best practices for positioning your camera to achieve the most engaging FPV shots.
Camera positioning is not just about where you place the camera; it significantly influences the perspective and emotional impact of your footage. A well-positioned camera can provide an immersive experience, making viewers feel as if they are part of the action. By experimenting with different angles, you can capture unique perspectives that highlight the beauty of your surroundings.
- High Angles: Positioning the camera higher can offer a bird’s eye view, showcasing the landscape beneath and providing context to your flight path.
- Low Angles: A lower camera angle can emphasize speed and create a dramatic effect, making the viewer feel closer to the ground.
- Tilted Angles: Tilting the camera slightly can add a sense of dynamism and excitement, especially during sharp turns or rapid maneuvers.
To achieve the best results, consider the following tips:
- Experiment with Mounting Locations: Try different mounting spots on your drone to see how they affect the footage. Common locations include the top, bottom, and front of the drone.
- Adjust the Tilt: Depending on your flight style, adjusting the tilt of your camera can enhance the shot. For instance, tilting the camera forward can create a sense of speed during fast flights.
- Use Gimbals: If possible, use a gimbal to stabilize your camera. This technology helps maintain a steady shot, even during turbulent maneuvers.
After positioning your camera, it’s crucial to conduct test flights. Review the footage to see how different angles and positions affect the final output. Fine-tuning your setup based on these tests can lead to improved results over time.
- Neglecting the Horizon Line: Always ensure that the horizon line is level in your shots to avoid disorienting your viewers.
- Inadequate Testing: Failing to test different angles can result in missed opportunities for stunning footage.
- Overcomplicating Angles: Sometimes, simpler angles can be more effective. Don’t feel pressured to create complex shots if they don’t serve the story.
By paying attention to these factors and continuously experimenting with your camera positioning, you can elevate your FPV footage to new heights. The right angles can transform ordinary shots into captivating visual narratives that resonate with your audience.
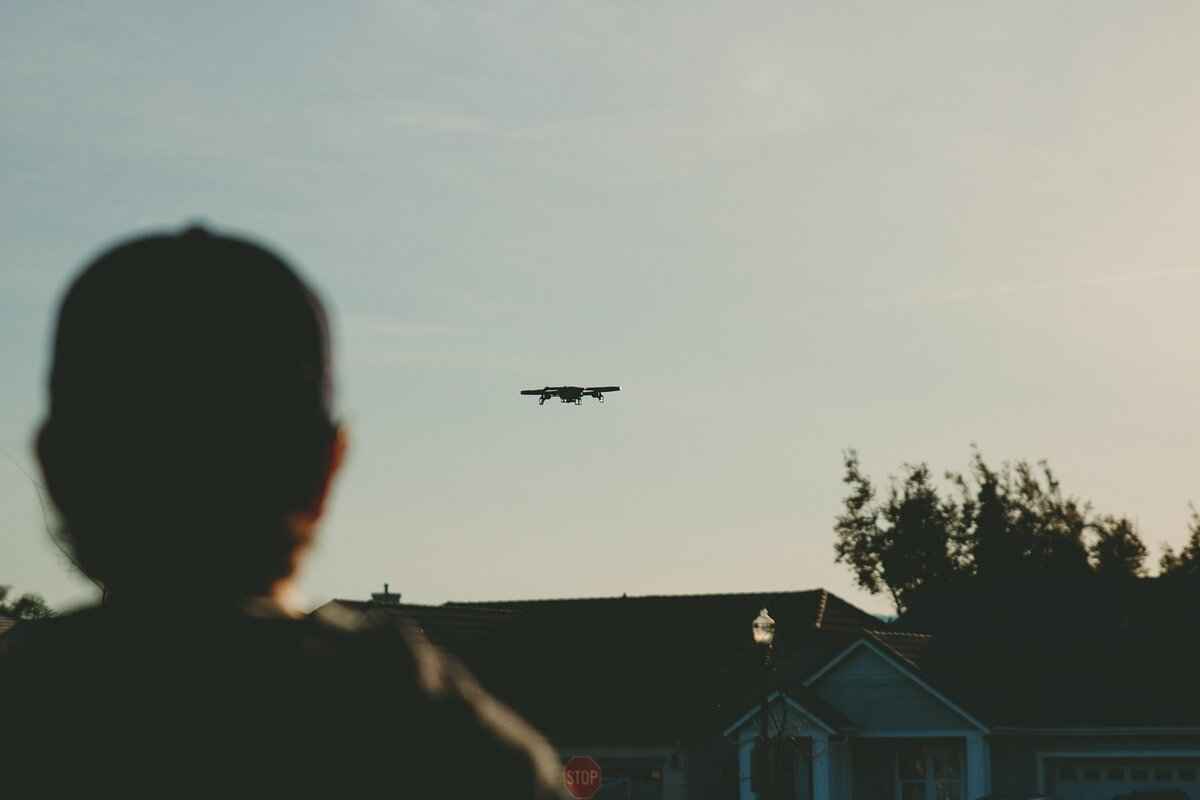
Lighting Considerations for FPV Footage
When it comes to capturing stunning FPV (First Person View) drone footage, lighting is an essential element that can make or break your video quality. Understanding how to manage lighting conditions effectively is crucial for achieving breathtaking aerial shots. This section delves into the various aspects of lighting that FPV pilots should consider to enhance their footage.
Good lighting is the backbone of high-quality video. It affects color accuracy, contrast, and overall visual appeal. Poor lighting can lead to grainy, washed-out images that detract from the stunning views you aim to capture. Therefore, understanding how to manipulate lighting conditions can significantly improve the final output of your videos.
Utilizing natural light is one of the best ways to enhance your FPV footage. Early morning and late afternoon, often referred to as the “golden hours,” provide soft, diffused light that can create a magical atmosphere in your videos. This time of day minimizes harsh shadows and enhances the colors of the landscape, making it ideal for aerial photography.
Another effective way to manage lighting is by using ND (Neutral Density) filters. These filters reduce the amount of light entering the camera, allowing for slower shutter speeds. This technique creates a more cinematic look by introducing motion blur, especially during fast maneuvers. ND filters are particularly useful in bright conditions, helping to maintain optimal exposure without sacrificing frame rates.
Understanding how to work with shadows and highlights is crucial for capturing dynamic footage. Overexposed highlights can lead to loss of detail, while underexposed shadows can create murky images. When planning your shots, consider the sun’s position and how it casts shadows across your subject. Positioning your drone to avoid harsh shadows or overexposed areas can significantly improve the quality of your footage.
In some cases, relying solely on natural light may not be sufficient. Incorporating artificial lighting can enhance your footage, especially during twilight or nighttime shoots. LED lights mounted on your drone can illuminate your subject, providing additional detail and vibrancy. However, it’s essential to balance artificial lights with ambient light to avoid unnatural-looking footage.
To truly take advantage of the lighting conditions, it’s vital to adjust your camera settings accordingly. Consider the following:
- ISO: Keep the ISO as low as possible to reduce noise.
- Aperture: A wider aperture allows more light but can affect depth of field.
- Shutter Speed: Follow the 180-degree rule for cinematic footage, ensuring smooth motion blur.
Before heading out, it’s wise to plan your shoot based on the anticipated lighting conditions. Utilize weather apps and tools to forecast sunlight and cloud cover. Understanding these factors will help you select the best times and locations for your FPV flights, ensuring that you capture the most visually appealing footage possible.
In summary, effective lighting management is crucial for achieving stunning FPV drone footage. By leveraging natural light, using filters, managing shadows, and adjusting camera settings, you can elevate your aerial videography to new heights. Always remember that the right lighting can transform an ordinary shot into an extraordinary visual experience.
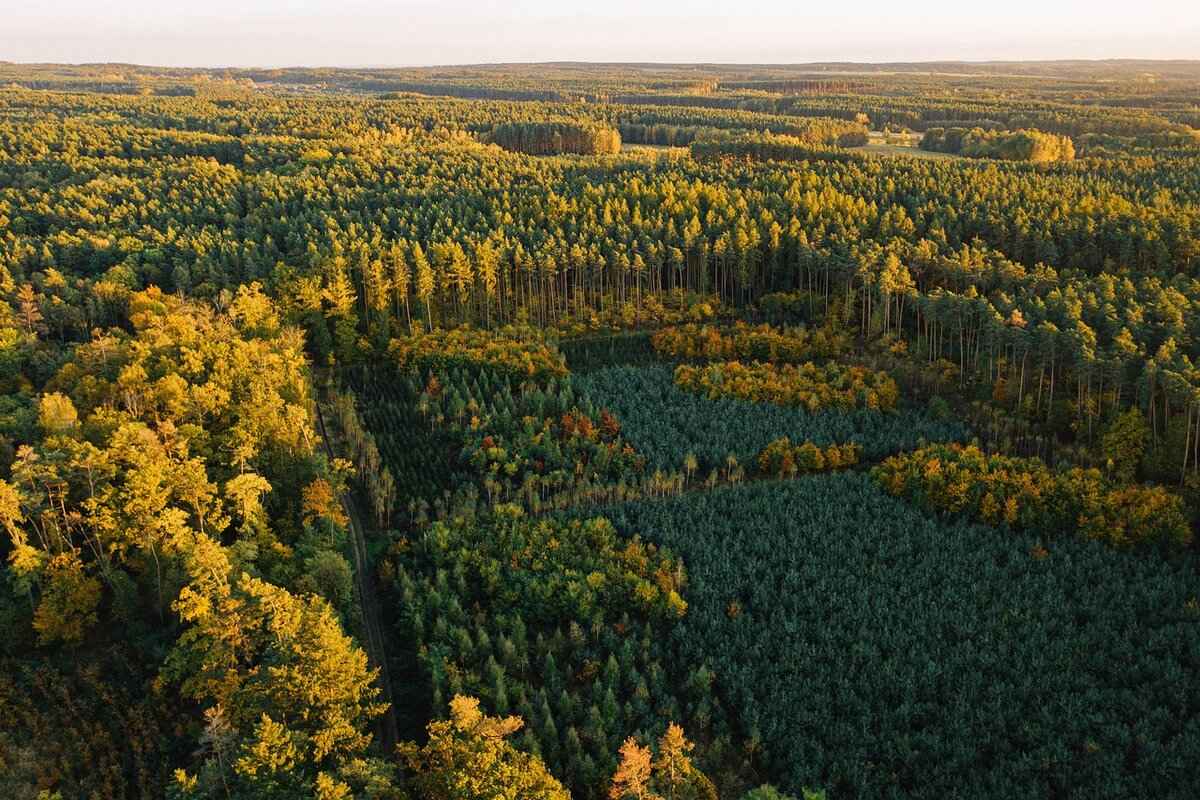
Post-Processing Tips for FPV Videos
Editing your FPV footage is not just about cutting clips together; it’s about transforming raw captures into breathtaking visual stories. With the right post-processing techniques, you can enhance the overall quality of your videos, making them more engaging and visually appealing. Below, we delve into essential tips that will help you elevate your FPV footage through effective editing.
Post-processing plays a crucial role in refining your FPV videos. It allows you to correct color imbalances, stabilize shaky footage, and add creative effects that can significantly enhance viewer experience. Proper editing can turn an average flight into a cinematic masterpiece, captivating your audience.
Color grading is a vital step in post-processing that can dramatically alter the mood and feel of your footage. Here are some key techniques:
- Adjust White Balance: Ensure that the colors in your footage are accurate. A well-balanced white point can make your visuals appear more natural.
- Enhance Contrast: Adding contrast helps to define the elements in your video, making them stand out. Experiment with shadow and highlight adjustments to find the right balance.
- Use LUTs (Look-Up Tables): Applying LUTs can instantly change the color palette of your footage, giving it a professional look. Many software programs offer built-in LUTs that you can customize.
Shaky footage can detract from the overall quality of your video. Here are some effective stabilization methods:
- Software Stabilization: Most editing software includes stabilization features that can smooth out shaky clips. Ensure to adjust the settings to avoid excessive cropping.
- Gyroscope Data: If your camera supports it, using gyroscope data for stabilization can provide superior results compared to software stabilization alone.
- Manual Keyframing: For more control, consider manually keyframing your clips to adjust position and rotation, ensuring a smooth flow.
To make your FPV videos more engaging, consider incorporating creative effects:
- Slow Motion: Slowing down certain clips can emphasize dramatic moments and add a cinematic feel.
- Dynamic Transitions: Use transitions that match the pace of your footage. Smooth cuts or creative wipes can enhance storytelling.
- Text Overlays: Adding titles or captions can provide context, making your video more informative and engaging.
Don’t overlook the importance of sound in your FPV videos. Here are some tips:
- Background Music: Choose music that complements the mood of your video. Ensure it’s not too overpowering, allowing the visuals to shine.
- Sound Effects: Adding subtle sound effects can enhance the realism of your footage, making it more immersive.
- Audio Levels: Balance audio levels to ensure clarity. Use audio meters to avoid distortion and ensure a pleasant listening experience.
By implementing these post-processing tips, you can significantly enhance the quality of your FPV videos. Remember, the goal of editing is to tell a story that resonates with your audience, capturing the thrill and beauty of your aerial adventures.
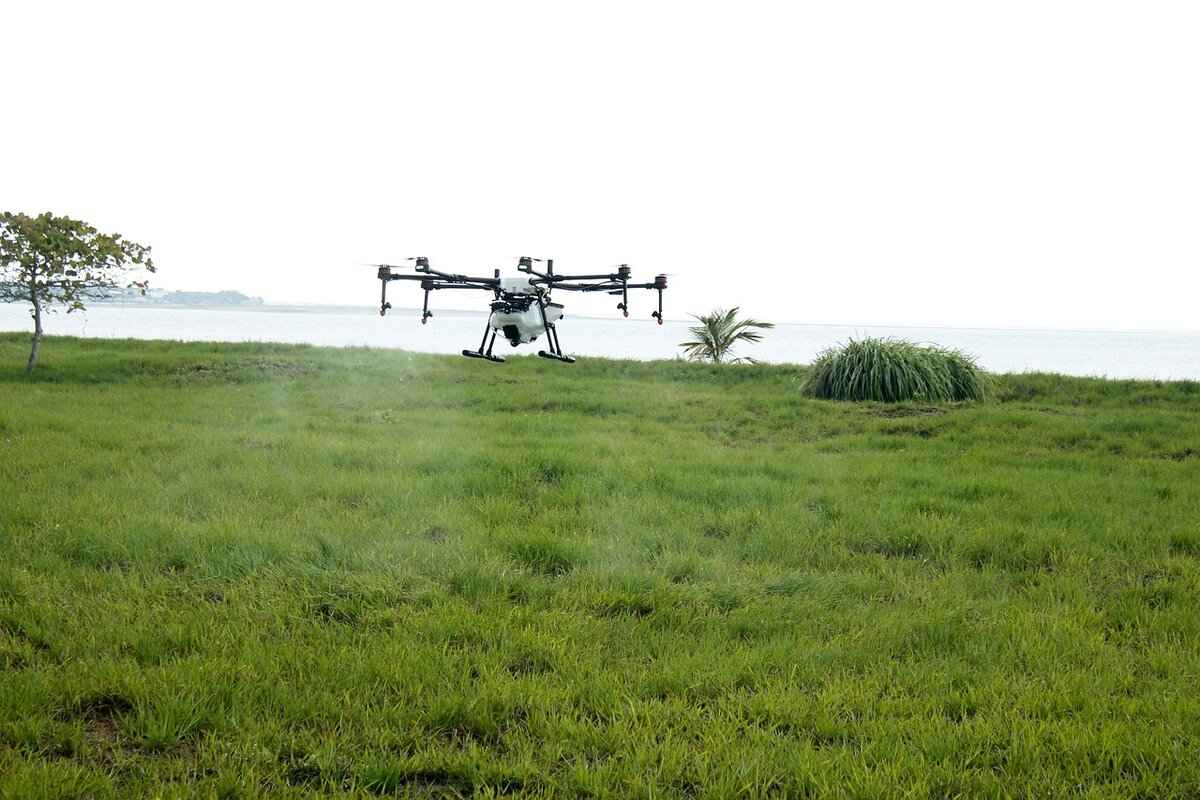
Common Mistakes to Avoid When Shooting FPV
When engaging in the exciting world of FPV (First Person View) drone flying, avoiding common pitfalls can save you valuable time and significantly improve the quality of your footage. Many FPV pilots, both beginners and experienced, often fall into certain traps that can hinder their filming experience. This section identifies frequent mistakes and provides practical advice on how to steer clear of them.
- Neglecting Pre-Flight Checks: One of the most critical steps is to perform thorough pre-flight checks. Failing to ensure that your drone and camera are functioning properly can lead to disappointing results. Always check battery levels, camera settings, and drone components before takeoff.
- Incorrect Camera Settings: Many pilots overlook the importance of optimal camera settings. Using the wrong resolution, frame rate, or field of view can affect the quality of your footage. Ensure your camera is set to the best possible resolution and frame rate for your specific flying conditions.
- Poor Mounting Techniques: The way you mount your action camera can greatly influence the stability of your footage. Inadequate mounting can lead to vibrations and shaky shots. Utilize vibration dampeners or gimbals to ensure smoother, more professional-looking video.
- Ignoring Lighting Conditions: Lighting plays a vital role in video quality. Many pilots underestimate how different lighting conditions can affect their footage. Always be aware of your environment and adjust your flying times to capture the best lighting, ideally during the golden hours of sunrise or sunset.
- Not Planning Your Shots: Flying without a clear plan can lead to missed opportunities and chaotic footage. Take time to visualize your shots and plan your flight path. This foresight will help you capture the most dynamic and engaging footage.
- Overlooking Post-Processing: Many pilots believe that great footage is solely about capturing the shot. However, editing is equally important. Neglecting post-processing can result in footage that lacks polish. Invest time in editing software to enhance color, stabilize shaky shots, and create a more cinematic experience.
By being aware of these common mistakes, FPV pilots can enhance their flying experience and produce high-quality footage that truly captures the essence of their aerial adventures. Remember, preparation and knowledge are key to achieving stunning results in FPV drone photography.
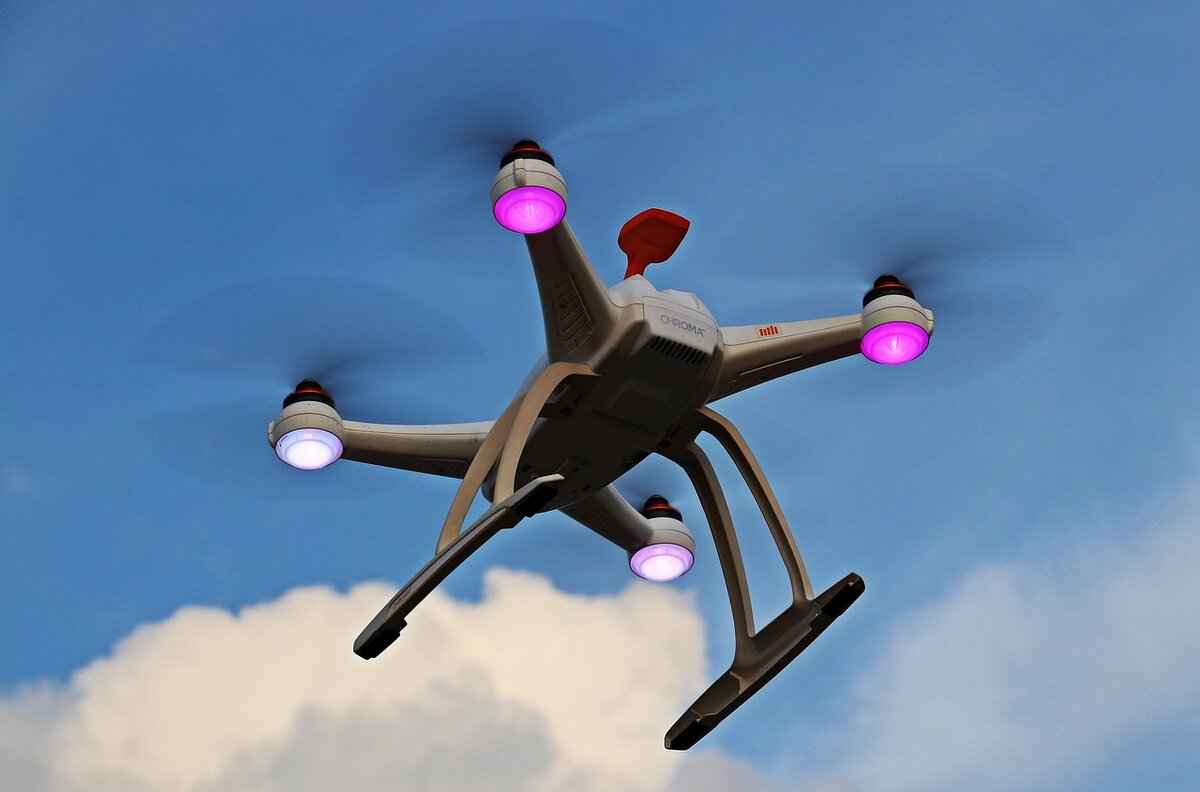
Best Practices for FPV Drone Safety
Ensuring safety while flying drones is of utmost importance. With the increasing popularity of FPV (First Person View) drone flying, it is essential for pilots to adhere to best practices that promote safe operations and minimize risks. Below, we outline key strategies that every FPV pilot should consider.
Before taking to the skies, it’s crucial to understand the potential risks involved with FPV flying. Collisions with obstacles, loss of control, and legal ramifications are just a few of the dangers. Pilots must be aware of their surroundings and the capabilities of their drones.
- Inspect Your Drone: Before each flight, conduct a thorough inspection of your drone. Check for any signs of wear and tear, and ensure that all components are functioning properly.
- Check Weather Conditions: Always assess the weather before flying. High winds, rain, or low visibility can significantly increase risks.
- Verify Battery Levels: Ensure your drone’s batteries are fully charged and that you have spares on hand to avoid mid-flight failures.
Being aware of your environment is critical. Are there people nearby? Are there obstacles such as trees or buildings? Always fly in open areas where you can maintain a clear line of sight with your drone. This not only enhances safety but also improves your ability to capture stunning FPV footage.
Keeping your drone within your line of sight is not just a best practice; it is often a legal requirement. This ensures that you can react quickly to any unforeseen circumstances, such as other aircraft or sudden changes in the environment.
Familiarize yourself with local laws and regulations regarding drone flying. Are there any no-fly zones? What are the altitude limits? Compliance with these regulations helps avoid legal issues and promotes safe flying.
Having a spotter can significantly enhance safety during FPV flights. A spotter can help you keep track of your drone’s position and alert you to any potential hazards that you may not see while focused on the FPV feed.
Every pilot should be prepared for emergencies. Do you know how to regain control if your drone goes out of range? Regularly practice emergency maneuvers and understand how to safely land your drone in case of a malfunction.
- Review Your Flight: After each flight, assess what went well and what could be improved. This reflection helps you become a safer and more skilled pilot.
- Maintain Your Equipment: Regular maintenance is essential. Clean your drone and check for any damage after each flight.
By following these best practices for FPV drone safety, pilots can enjoy their flying experience while minimizing risks. Remember, safety is not just about following rules; it’s about developing a mindset that prioritizes caution and responsibility in every flight.

Sharing and Showcasing Your FPV Footage
Sharing your FPV (First Person View) footage is as crucial as capturing it. In today’s digital age, showcasing your videos effectively can make a significant difference in reaching a wider audience and gaining recognition. This section will delve into various platforms and methods to help you display your FPV videos, ensuring they get the attention they deserve.
In the competitive world of drone videography, sharing your footage is essential for several reasons:
- Building a Community: Engaging with fellow enthusiasts can lead to valuable feedback and collaboration opportunities.
- Gaining Exposure: The more you share, the higher the chance of being discovered by potential sponsors or clients.
- Showcasing Your Skills: A well-curated portfolio of your work can demonstrate your expertise and attract new followers.
Several platforms cater specifically to video sharing, making them ideal for showcasing your FPV footage:
- YouTube: As the largest video-sharing platform, YouTube allows you to reach millions. Optimize your video titles and descriptions with relevant keywords to enhance visibility.
- Instagram: Perfect for short clips and teasers, Instagram’s visual-centric approach can help you connect with a younger audience. Utilize hashtags effectively to increase reach.
- Facebook: Create a dedicated page or group to share your FPV content. Engaging with niche communities can foster discussions and increase your video shares.
- Vimeo: Known for high-quality video hosting, Vimeo is ideal for professionals looking to showcase their work in a polished manner.
Beyond just uploading your videos, consider these methods to enhance your sharing strategy:
- Collaborate with Other Creators: Partnering with other FPV pilots can introduce your work to their audience, expanding your reach.
- Engage with Your Audience: Respond to comments and messages to build a loyal following. Consider hosting live Q&A sessions to discuss your footage and techniques.
- Utilize SEO Techniques: Optimize your video content with relevant keywords, tags, and descriptions to improve searchability on platforms like YouTube.
- Create a Blog or Website: Having a dedicated space to share your videos, insights, and tutorials can establish you as an authority in the FPV community.
To ensure your FPV videos stand out, consider these tips:
- Thumbnails Matter: Create eye-catching thumbnails that encapsulate the essence of your video. A compelling thumbnail can significantly increase click-through rates.
- Consistent Posting Schedule: Regularly sharing content can keep your audience engaged and eager for more.
- High-Quality Edits: Invest time in editing your footage to highlight the best moments. Use color grading and stabilization techniques to enhance visual appeal.
In conclusion, sharing and showcasing your FPV footage is not just about uploading videos; it’s about creating a community, gaining exposure, and demonstrating your skills. By leveraging various platforms and employing effective methods, you can ensure your stunning aerial captures reach a broader audience, ultimately enhancing your presence in the FPV world.
Frequently Asked Questions
- What is FPV drone footage?
FPV stands for First Person View, and it allows you to experience flying a drone as if you were in the cockpit. This immersive perspective is achieved through a camera mounted on the drone, capturing stunning aerial views that make you feel like you’re soaring through the sky!
- How do I choose the right action camera for FPV?
Choosing the right action camera is crucial for quality FPV footage. Look for cameras that offer high resolution, good frame rates, and a wide field of view. Popular models like the GoPro Hero series or DJI Osmo Action are great options to consider!
- What are the essential camera settings for FPV?
To achieve the best FPV footage, set your camera to a high resolution (like 4K) and select a frame rate of at least 60fps for smooth playback. Adjusting the field of view can also enhance your footage, giving you that cinematic feel!
- How should I mount my action camera on the drone?
Mounting your camera securely is key to capturing stable footage. Use vibration dampeners or gimbals to minimize shakes and ensure your camera is positioned for optimal angles. Experiment with different mounts to find what works best for your flying style!
- What are common mistakes to avoid when shooting FPV?
Common mistakes include poor camera settings, inadequate lighting, and improper mounting techniques. Always double-check your setup before flying and practice in a safe area to avoid mishaps!


